Affiliate Disclosure: As an Amazon Associate, I earn from qualifying purchases. This article may contain affiliate links for products I recommend. If you click a link and buy something I may receive some compensation. However, this does not change the price you would pay.
Ever noticed some waffles are better? The trick is the cookware. Cast iron waffle makers bring a unique taste. They mix tradition and flavor in a way modern irons can’t.
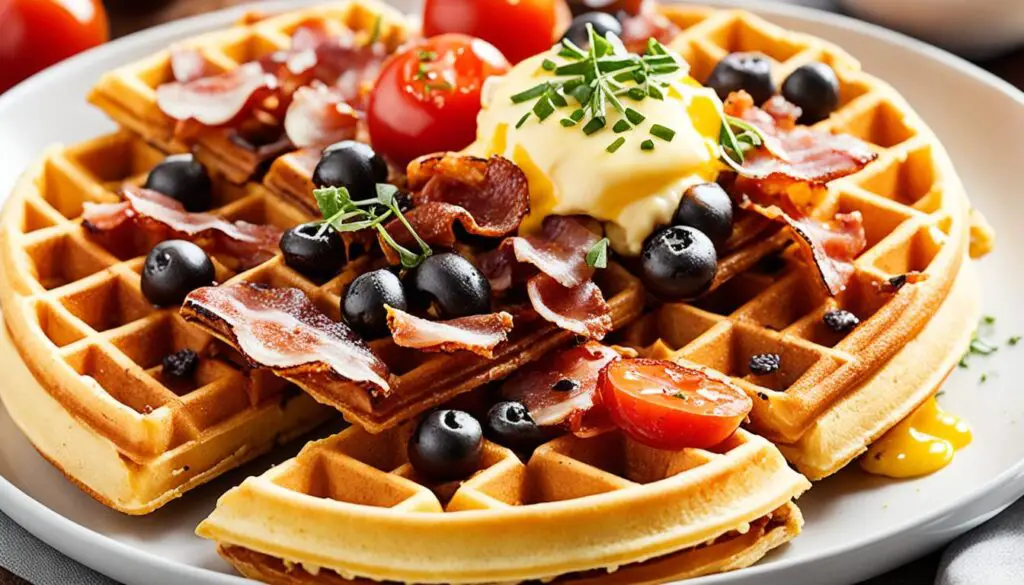
A cast iron or stovetop waffle iron can level up your breakfast. These tools make waffles crispy outside, fluffy inside. They add a special flavor that’s hard to copy.
To make 8 delicious 7-inch waffles, gather these:
Mix dry ingredients in one bowl, wet in another. Combine them gently, then let the batter sit for 5 minutes. Heat your cast iron waffle maker over medium. Seasoning it correctly is key for great waffles and a lasting iron.
Once it’s hot, grease the plates and add 1/2 cup of batter. Cook for 2-3 minutes on each side. You’ll get delicious, crispy waffles. After tasting them, you might not choose frozen again!
Table of Contents
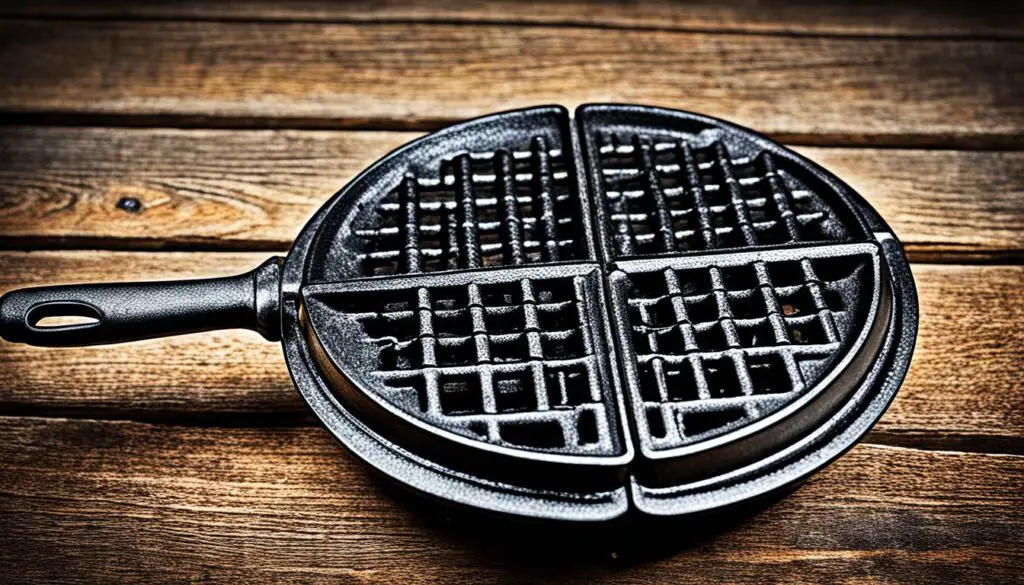
Cast iron cookware is beloved in American kitchens. My cast iron waffle maker brings a special retro feel and great taste to my waffles. Let’s look at why these age-old tools are so loved today.
For centuries, cast iron has been a key part of cooking. Its toughness and ability to hold heat well make it ideal. Waffle makers of cast iron began in the 1800s, making everyone’s waffles crispy and golden.
The magic of tasty waffles is in the cast iron material itself. Even though cast iron’s thermal conductivity lags behind cast aluminum, it spreads heat evenly. So, your waffles get that perfect crisp outside and soft inside.
Cooking with cast iron is not just about flavor. It also adds a bit of iron to your diet, which is good for you. Plus, unlike non-stick pans, it doesn’t put out harmful chemicals when you cook.
| Property | Cast Iron | Cast Aluminum |
|---|---|---|
| Thermal Conductivity (W/m-K) | 52 | 160 |
| Tensile Strength (psi) | 22,331 | 32,000 |
| Density (g/cm³) | 7.3 | 2.7 |
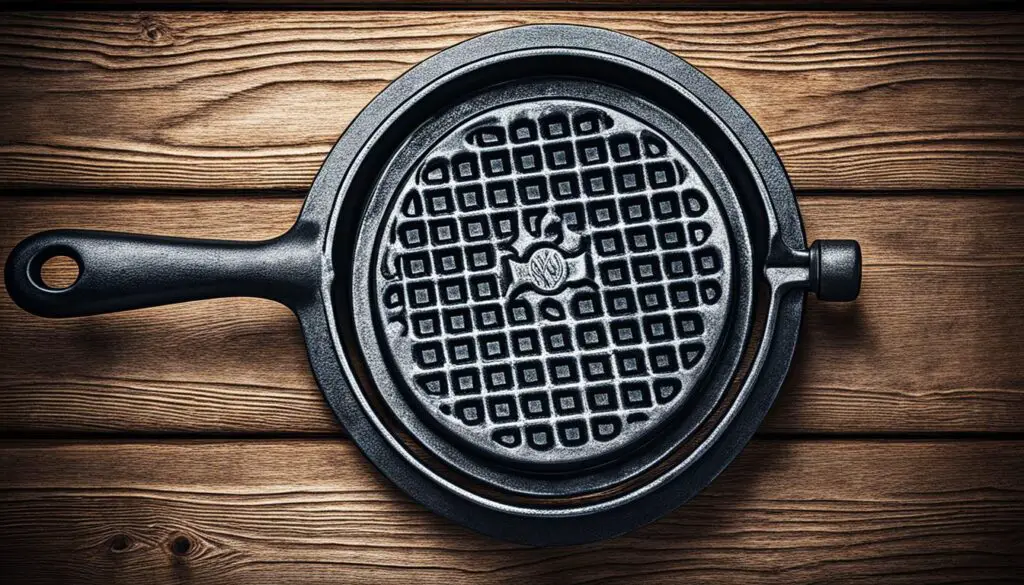
Waffle makers like the Skeppshult Heart Shape model come seasoned with organic oils. This special seasoning not only improves the waffle flavor but also cuts out the need for artificial non-stick coatings.
Cast iron waffle makers come in many styles, each with different features. They are perfect for those who love waffles. I’ll show you the different types to help choose the best one for your kitchen.
Antique waffle makers have strong bases, perfect for gas or wood stoves. They distribute heat evenly, making waffles perfectly crispy. Many people collect these because of their beautiful designs and old stories.
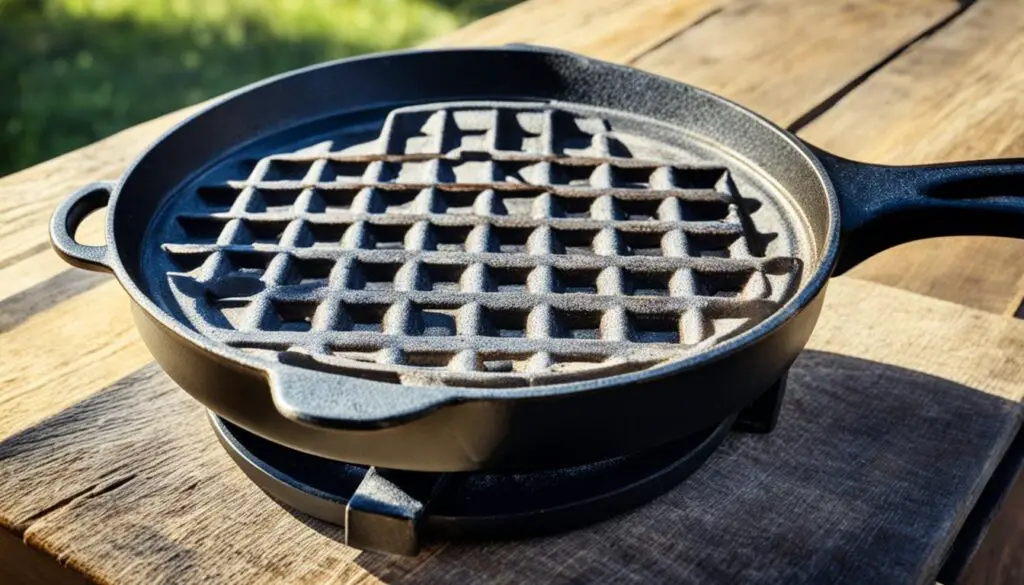
Modern cast iron waffle irons are made for our modern kitchens. Models without bases are great for any stovetop, including induction. People love these for their traditional cast iron cooking feel.
When picking a cast iron waffle maker, think about these things:
| Feature | Antique Models | Modern Designs |
|---|---|---|
| Base | With base | Baseless |
| Stove Compatibility | Gas, wood | All types, including induction |
| Pattern Variety | High (ornate designs) | Moderate |
| Maintenance | Requires restoration | Easier to maintain |
If you’re buying a stovetop waffle maker, go for a thick and high-quality cast iron. Skeppshult is known for their durable waffle makers that last long.
Whether you pick an antique or a modern cast iron waffle maker, you’ll get great waffles. They offer a special taste and texture. Have fun making waffles!
Seasoning your cast iron waffle maker is key for a non-stick surface. I’ll show you how to do it and keep it perfect over time.
Before your first use, season the waffle maker well. This step helps your waffle maker avoid rust and sticking. Follow these steps:
Keep your waffle maker in great shape with these easy tips:
With the right care, your waffle maker will last a long time and make yummy waffles. A well-seasoned cast iron waffle maker is better at preventing sticking than Teflon or aluminum. This makes it a great pick for waffle lovers.
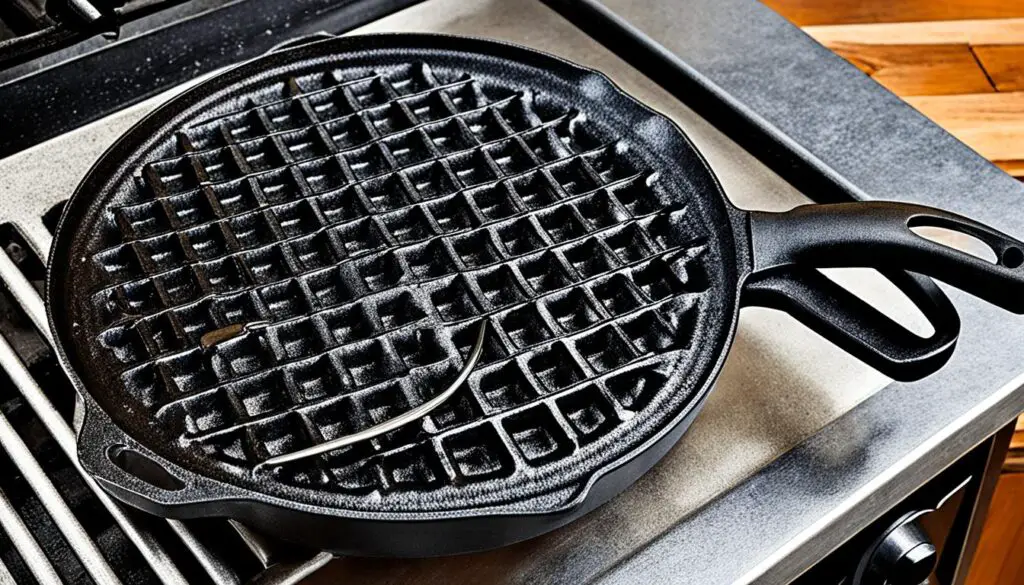
Preheating your cast iron waffle maker is key to making perfect waffles. I’ll show you how to heat it just right for great stovetop cooking.
First, set your waffle iron on the stove at low heat. Slowly raise the heat, 10 minutes for each side. This method ensures the iron heats evenly without warping. Aim for a temperature around 280°C (536°F) for the best outcome.
It’s tough to know the perfect heat without a gauge. Here’s a trick: drop a little water on it. If the water dances and vanishes fast, you’re good to go.
| Cooking Fat | Smoke Point | Ideal Preheating Temperature |
|---|---|---|
| Butter | 300°F (149°C) | 280°F (138°C) |
| Lard | 375°F (191°C) | 355°F (179°C) |
| Vegetable Oil | 400°F (204°C) | 380°F (193°C) |
Be patient when preheating your waffle iron. Getting it right means extra crispy, golden waffles. Once it’s heated, it’s time to make your batter and enjoy some tasty, homemade fun!

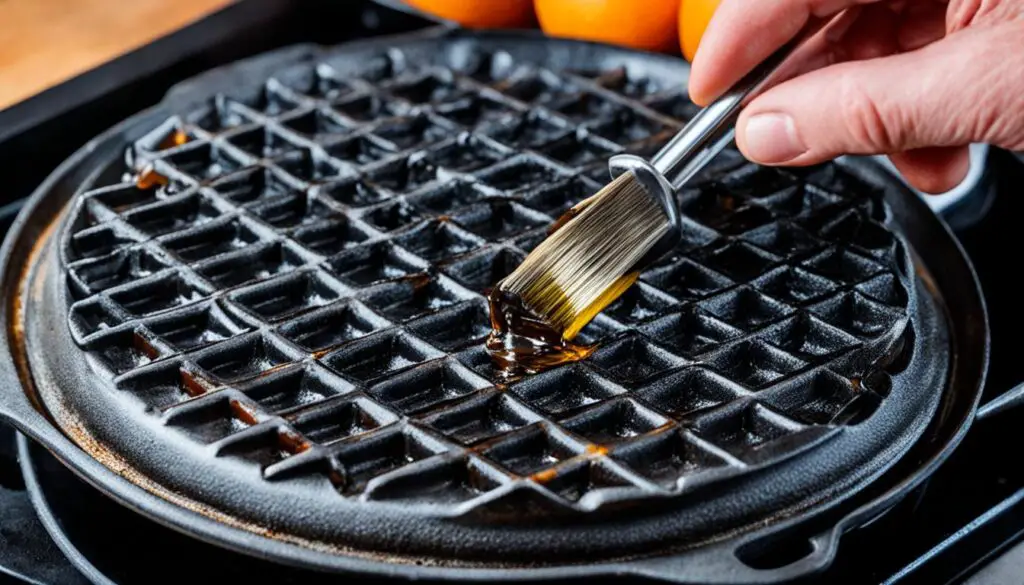
It’s key to grease your waffle iron well. Doing so makes waffles come off easily. You need to know the right way to grease it for a good experience. Let’s look at the top methods and fats to use in detail.
I find a silicone basting brush best for greasing. It makes sure the fat covers the waffle iron’s every part. A simple guide to do this is:
Using the right fats is crucial for great, crispy waffles. Let’s compare some common choices:
| Fat Type | Smoke Point (°F) | Flavor | Best For |
|---|---|---|---|
| Lard | 375 | Neutral | Crispy waffles |
| Butter | 300 | Rich | Flavorful waffles |
| Coconut Oil | 350 | Subtle coconut | Healthier option |
| Vegetable Oil | 400-450 | Neutral | High-heat cooking |
Stay away from cooking sprays. They can be tough to clean up and leave residue. For the crispiest waffles, go for lard or a high-smoke point oil. But if you want rich taste, butter is great.
Even with non-stick waffle makers, greasing them lightly is smart. It helps avoid sticking and simplifies cleaning. Mastering how to grease your waffle iron is a step to perfect waffles every time.
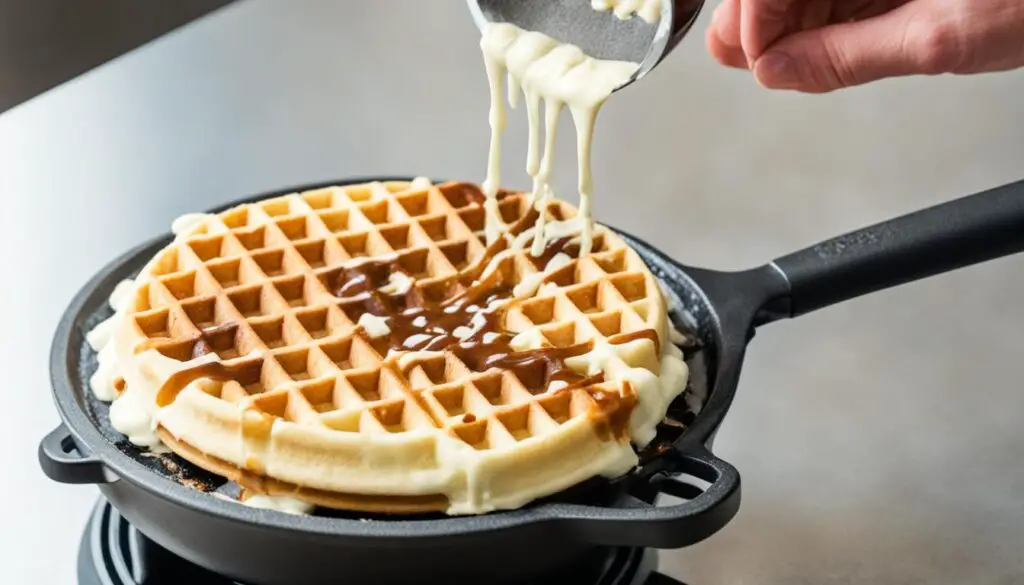
Pouring and spreading waffle batter just right is key to making top-notch waffles. Getting the batter’s texture and the quantity correct is important.
An ideal waffle batter is thick but pourable. It should stick to the spoon but not fall off fast. With this texture, you’ll get waffles that are crunchy outside and soft inside.
Using a cup of batter for a 7-inch waffle is what I’ve seen works best. This fills the waffle iron neatly. With my cast iron waffle maker, two ladles of batter are just perfect.
Here’s how I cook waffles:
Flipping the iron spreads the batter evenly and makes a nicely puffed waffle. Remember, the cook time might change depending on your iron and batter. So, it’s good to adjust as needed.
| Waffle Type | Batter Amount | Cooking Time | Temperature |
|---|---|---|---|
| Classic Belgian | 1 cup | 3-4 minutes | 400°F (204°C) |
| Thin and Crispy | 3/4 cup | 2-3 minutes | 425°F (218°C) |
| Stuffed Waffles | 1 1/4 cups | 4-5 minutes | 375°F (191°C) |
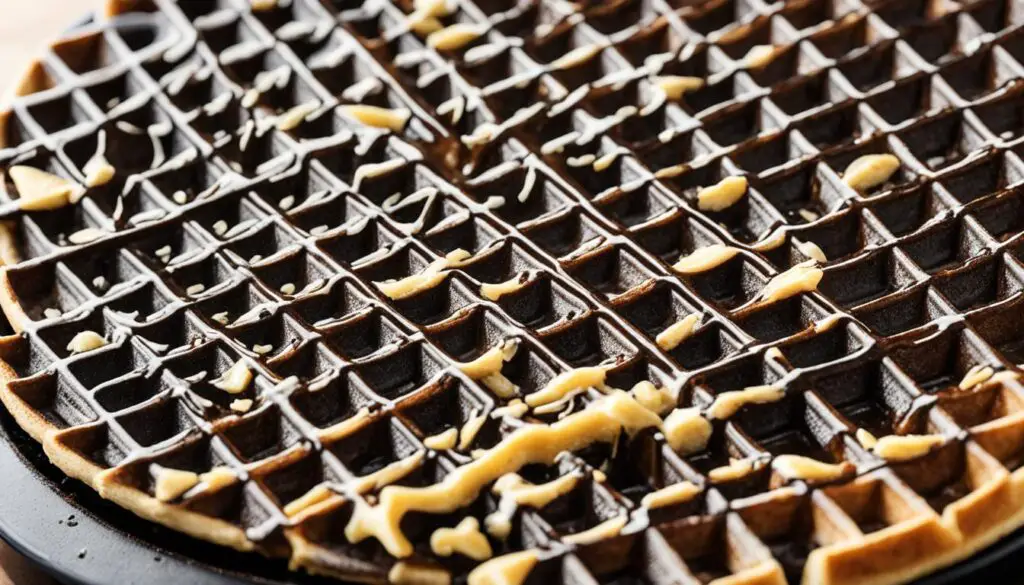
Cast iron waffle irons are beloved for their ability to produce crispy, golden waffles with a tender interior. A key aspect of using these traditional tools is knowing when and how to flip the plates during the cooking process. This technique ensures even cooking and that signature waffle texture we all crave.
Key indicators of when to flip the plates:
• Steam escaping from the edges
• Edges of the waffle looking set and slightly golden
• Sizzling sound starting to diminish (for stovetop irons)
Typical Timing of when to flip the plates:
• First flip: 2-3 minutes after starting
• Subsequent flips (optional): Every 30 seconds to 1 minute
Timing is crucial when it comes to flipping a cast iron waffle iron. Generally, you should flip the iron about halfway through the cooking process. For most waffle recipes, this means flipping after about 2-3 minutes of cooking on the first side. However, the exact timing can vary depending on your specific waffle iron, the recipe you're using, and how hot your heat source is.
To determine the right moment to flip, look for a few key signs. First, you should see steam escaping from the edges of the waffle iron. This indicates that the batter is cooking and moisture is being released. Second, the edges of the waffle visible around the rim of the iron should start to look set and slightly golden. If you're using a stovetop waffle iron, you might also notice the sizzling sound start to diminish slightly.
How to Flip a Cast Iron Waffle Iron
When it's time to flip, use oven mitts or heat-resistant gloves to protect your hands. Grasp the handles firmly and, in one smooth motion, flip the entire iron over. This action should be quick and decisive to maintain an even distribution of batter. After flipping, continue cooking for another 2-3 minutes, or until the waffle is golden brown and crispy on both sides.
It's important to note that the first flip is usually the most critical. However, some waffle enthusiasts prefer to flip their irons multiple times during cooking, believing this leads to a more evenly cooked waffle. If you choose to do this, subsequent flips can be done at 30-second to 1-minute intervals.
| Flip | Timing | Notes |
|---|---|---|
| First | 2-3 minutes after starting | Most critical flip |
| Second | 2-3 minutes after first | Optional, but ensures even cooking |
| Subsequent | Every 30s – 1min | For waffle enthusiasts seeking perfection |
Remember that cast iron retains heat well, so your waffle iron will get hotter the longer it's on the heat source. You may need to adjust your cooking time and flipping schedule as you make subsequent waffles. The first waffle often takes the longest to cook, while later ones may cook more quickly.
Mastering the art of flipping a cast iron waffle iron takes practice, but the results are worth it. With time, you'll develop an intuitive sense of when to flip, leading to perfectly cooked waffles every time. The satisfying sizzle and the aroma of a waffle cooking to golden perfection make the extra effort of using a traditional cast iron waffle iron a rewarding culinary experience.
Getting waffles out of a cast iron waffle maker might seem tough. But, it’s all about the right way to do it. The trick is to be patient and watch your waffle closely. When the steam lessens, your waffle is likely done.
To keep things safe, I grab a heat-proof spatula. I gently check under the waffle’s edge. If it sticks, more time is needed. But, if it comes up easily, it’s time to get it out.
Cast iron stays hot even after you take your waffle out. This is great news. You can make the next waffle right away. Just remember to grease the plates again before you add more batter.
Learning to take out waffles safely leads to great results every time. You’ll also keep your waffle maker in top shape by being careful. No more scratches from pulling out waffles too quickly.
Waffle-making problems can be annoying. But, with a few tips, you can beat these challenges. I will show you how to tackle the most common issues.
Waffles that stick can be a real bother. To avoid this, make sure your waffle maker is seasoned and warm. Use clarified butter or refined rapeseed oil to grease it. These oils are less likely to cause sticking.
When waffles cook unevenly, it’s often because of heat issues. A solid cast iron waffle maker can help with this. Also, you should adjust your cooking as needed, depending on the heat of your stove. Units with bases take longer to cook but they distribute heat more evenly.
Getting the cooking time just right can be tough. Initially, set your oven a bit below your fat’s smoke point. Then, play around with batter amounts and cooking times. Since cast iron holds heat well, you might need to tweak things.
Solving these common waffle issues will lead to better waffles. Remember, practice is key to becoming a pro with your cast iron waffle maker.
Making an amazing waffle is like an art. It needs the right recipe and toppings. I’ve worked hard to find what’s best. And I want to show you how to do it, too.
For 8 1-inch waffles, you’ll need:
Start by mixing the dry stuff. Then, in another bowl, stir the yolks, milk, oil, and vanilla. Mix the wet and dry stuff together. Finally, beat the egg whites till they’re foamy and fold them in.
Getting your waffles just right is all about the batter and how you cook it. Your batter should be a bit thick but easy to pour. If it turns out too thick, just add a bit of milk. For waffles that are crispy, try stirring in a spoon of cornstarch with the dry ingredients.
There are endless ways to top your waffles. Here are a few cool ideas:
| Sweet | Savory |
|---|---|
| Maple syrup and butter | Fried chicken and hot sauce |
| Fresh berries and whipped cream | Smoked salmon and cream cheese |
| Nutella and banana slices | Avocado and poached egg |
A great waffle should be crispy on the outside and fluffy inside. Follow these tips and use a good waffle maker. You’ll soon be making waffles that everyone will love!
Cleaning and caring for your cast iron waffle maker ensures it lasts for many years. Follow these tips to keep your waffle maker in excellent condition.
After making waffles, clean your iron while it’s warm. Use a soft brush or cloth to get rid of food bits. If some bits stick, mix baking soda with water to form a paste. Gently rub this paste on, then clean it off. Avoid using rough scrubbers as they can harm the seasoning.
To stop rust, always make sure your iron is completely dry after cleaning. Also, make sure to apply a very thin coat of vegetable oil. This not only helps prevent rust but also keeps the seasoning in good shape. Cleaning rust off a cast iron waffle is tough, so it’s best to prevent it.
The way you store your cast iron waffle maker is essential. Store it in a dry place to avoid moisture. If you have to stack it, put a paper towel between each piece. This will stop any dampness. Using a cover made of fabric can also keep dust away.
| Maintenance Task | Frequency | Tools Needed |
|---|---|---|
| Basic Cleaning | After Each Use | Soft Brush, Cloth |
| Deep Cleaning | Monthly | Baking Soda, Water |
| Re-seasoning | Every 3-6 Months | Vegetable Oil |
| Rust Check | Quarterly | Visual Inspection |
Adhering to these suggestions will help your cast iron waffle maker last for a long time. It will be ready to whip up waffles anytime you want them.
I love getting creative with waffles using my cast iron maker. It can make all kinds of waffles that taste and look different. I’ll share some cool waffle recipes with you.
To make waffles healthier, I use a mix of whole wheat and all-purpose flour. I also add mashed bananas or grated zucchini to make them moist and tasty. For a more savory option, I mix in herbs, cheese, or even bacon. It makes a great meal for breakfast or brunch.
Now, here’s a quick recipe for Classic Buttermilk Waffles making 8 7-inch waffles:
First, mix the dry and wet ingredients separately. Then, combine them just until mixed with a whisk. Pour 1/2 cup of the batter into a hot waffle iron. Cook for around 3 minutes.
Try more than sweet waffle flavors. You can waffle hash browns or even grilled cheese sandwiches. This gives the dishes a fun, crunchy layer. Your cast iron waffle maker can do so much more than just make sweet waffles!
| Waffle Variation | Key Ingredients | Cooking Time |
|---|---|---|
| Chocolate Chip | 1/2 cup chocolate chips | 3-4 minutes |
| Blueberry | 1 cup fresh blueberries | 3-4 minutes |
| Cheddar & Chive | 1/2 cup shredded cheddar, 2 tbsp chopped chives | 4-5 minutes |
| Pumpkin Spice | 1/2 cup pumpkin puree, 1 tsp pumpkin pie spice | 3-4 minutes |
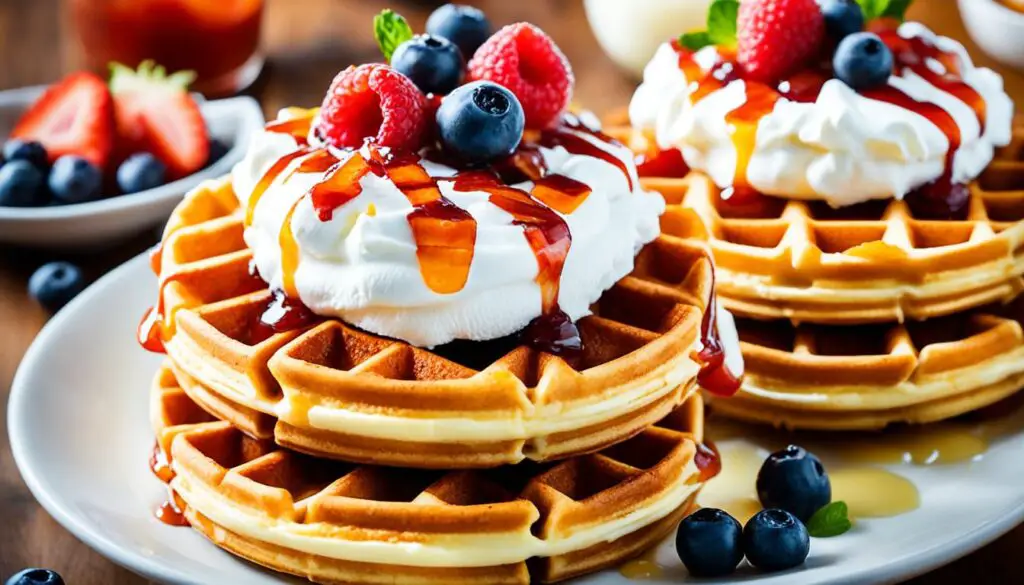
Waffles can be enjoyed in so many ways, from breakfast classics to inventive desserts. There are endless ways to make your waffle perfect. Below are some great ideas to make your waffle experience unforgettable.
Butter and maple syrup is a timeless favorite. A classic waffle meal is made by placing a melted butter pat on the waffle. Then, pour warm maple syrup on top. It’s simple and tasty, bringing out the waffle’s great taste.
Today, savory waffles are becoming more popular, offering something different. Check out these tasty savory waffle ideas:
You can turn your waffles into decadent desserts with these ideas:
| Waffle Type | Popular Toppings | Serving Suggestion |
|---|---|---|
| Classic | Butter, maple syrup | Serve hot with a side of bacon |
| Savory | Cheese, herbs, bacon | Pair with a fried egg for brunch |
| Dessert | Fruits, chocolate, whipped cream | Add a scoop of ice cream for extra indulgence |
These ideas for serving and toppings will keep your waffle meals exciting. Enjoy making both savory and sweet waffles. There’s always a new perfect topping mix to try.
The talk about waffle makers often turns to cast iron versus electric. After a thorough test, I’ve seen their strong points. Cast iron waffle makers are great for regulating heat. They make waffles that are crispy on the outside and soft inside. Plus, they are better for your health because of what they are made of. They also add a special taste to your waffles.
But there’s more to consider. Electric waffle irons are easier to use and more convenient. The Cuisinart Round Flip Belgian Waffle Maker WAF-F30 was outstanding in my trials. It made a thick waffle in only two minutes. It heated up fast and was ready to use again quickly. This waffle maker is priced at $116 and is great for holding lots of syrup.
Looking at the pros and cons of waffle irons, cast iron needs more care but delivers great results. With proper care, it also lasts a long time. On the other hand, electric models like the Black+Decker ($70) are simpler to handle. However, they may not offer a flip feature for even cooking. The decision between cast iron and electric depends on what you prefer.
Want to give cast iron a go? Here’s a simple recipe for eight 7-inch waffles. Combine 2 cups of flour and other ingredients in a bowl. Then, heat up your cast iron waffle maker, give it a light oiling, and pour batter into each section. When the waffles are golden brown, they’re ready to eat. Top them with your favorite toppings and enjoy!